Organisational hierarchy
Overview
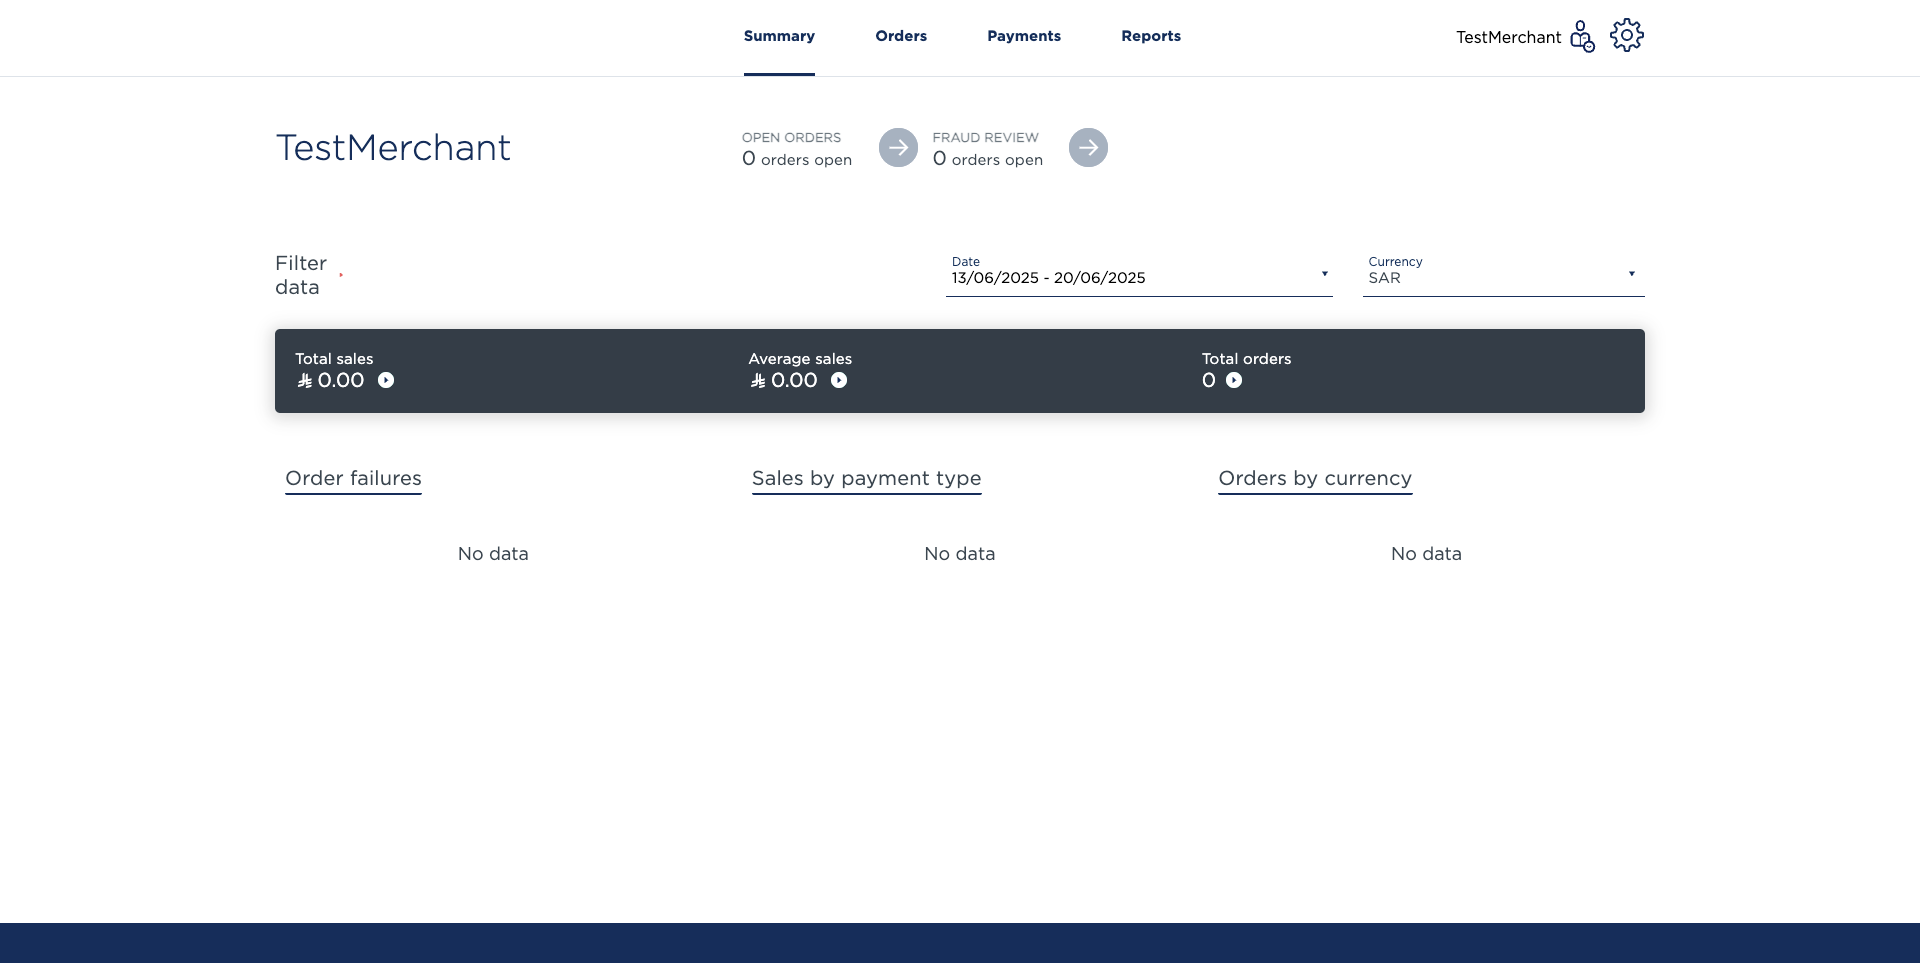
The Organisational Hierarchy screen displays the details and structure for the Merchant Organisation. It allows you to drill down to the details of Organisational Units and Outlets that are branched below in the organisation.
Most of the organisation’s information is added during system setup, and the details cannot be edited. The information displayed will be dependant on the User’s permissions.
Open Organisational Hierarchy screen
- Select the Settings option from the top Main menu bar. The Settings menu bar displays, with the Users page open by default.
- Click on the Organisational Hierarchy option. The Organisational Hierarchy screen displays.
Navigation in Organisational Hierarchy
If you have a large organisation with several divisions that you are managing you can use the navigation in N-Genius Online to have an overview of each organisational unit.
If you have a Merchant Admin access at the top of the hierarchy, then you are able to view all organisational units and outlets below.
How to navigate the portal:
-
Click on the merchant name "TestMerchant" in this example in the top right corner.
-
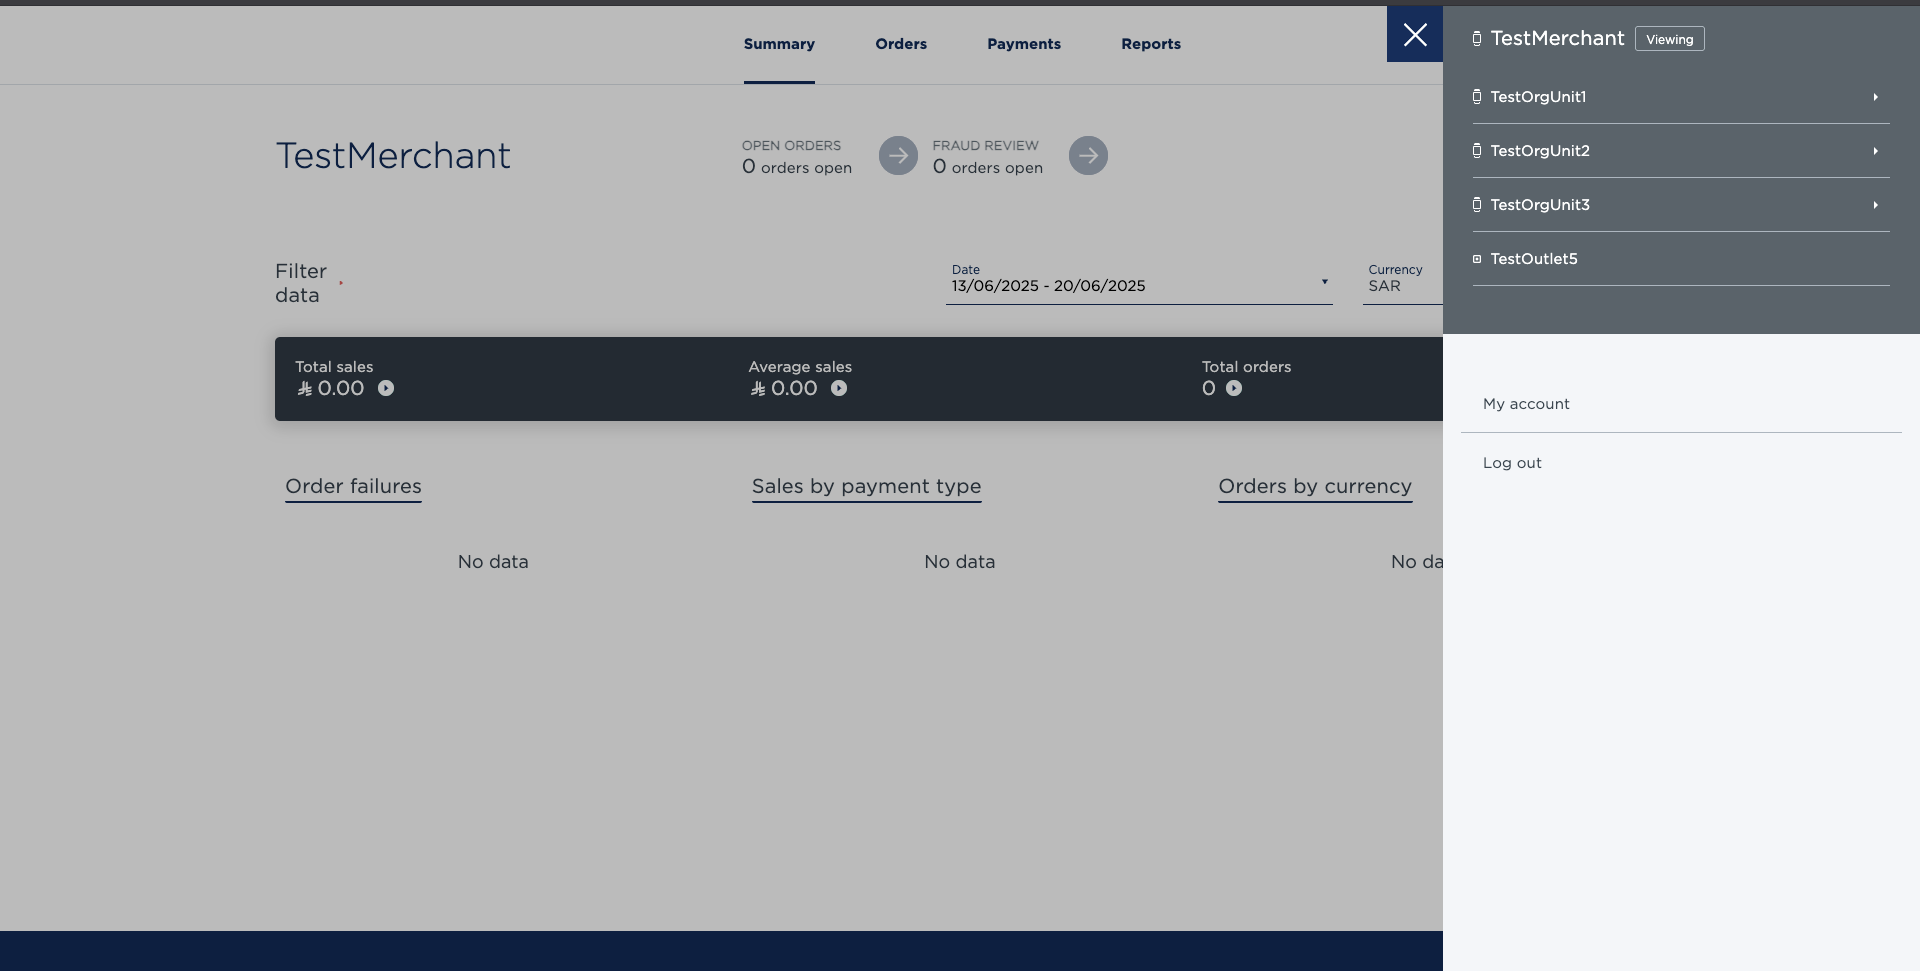
Pop out comes out on the side of the screen with a list of the organisational units
How to identify and outlet vs. an org unit.The small icon before the node name tells you if it's an Org unit or an Outlet.
e.g. icon with a dot in a square is for outlet and other one is for Merchant org unit.
In this example in the picture below, "TestOrgUnit2" is an Org unit and the "TestOutlet5" is an Outlet.
3.Click on one of the organisational units: in this example will click on "TestOrgUnit2"
4.Next to "TestOrgUnit2" organisational unit name there is a box which says "Select". Click on "Select" and then you will have the view of this organisational unit.
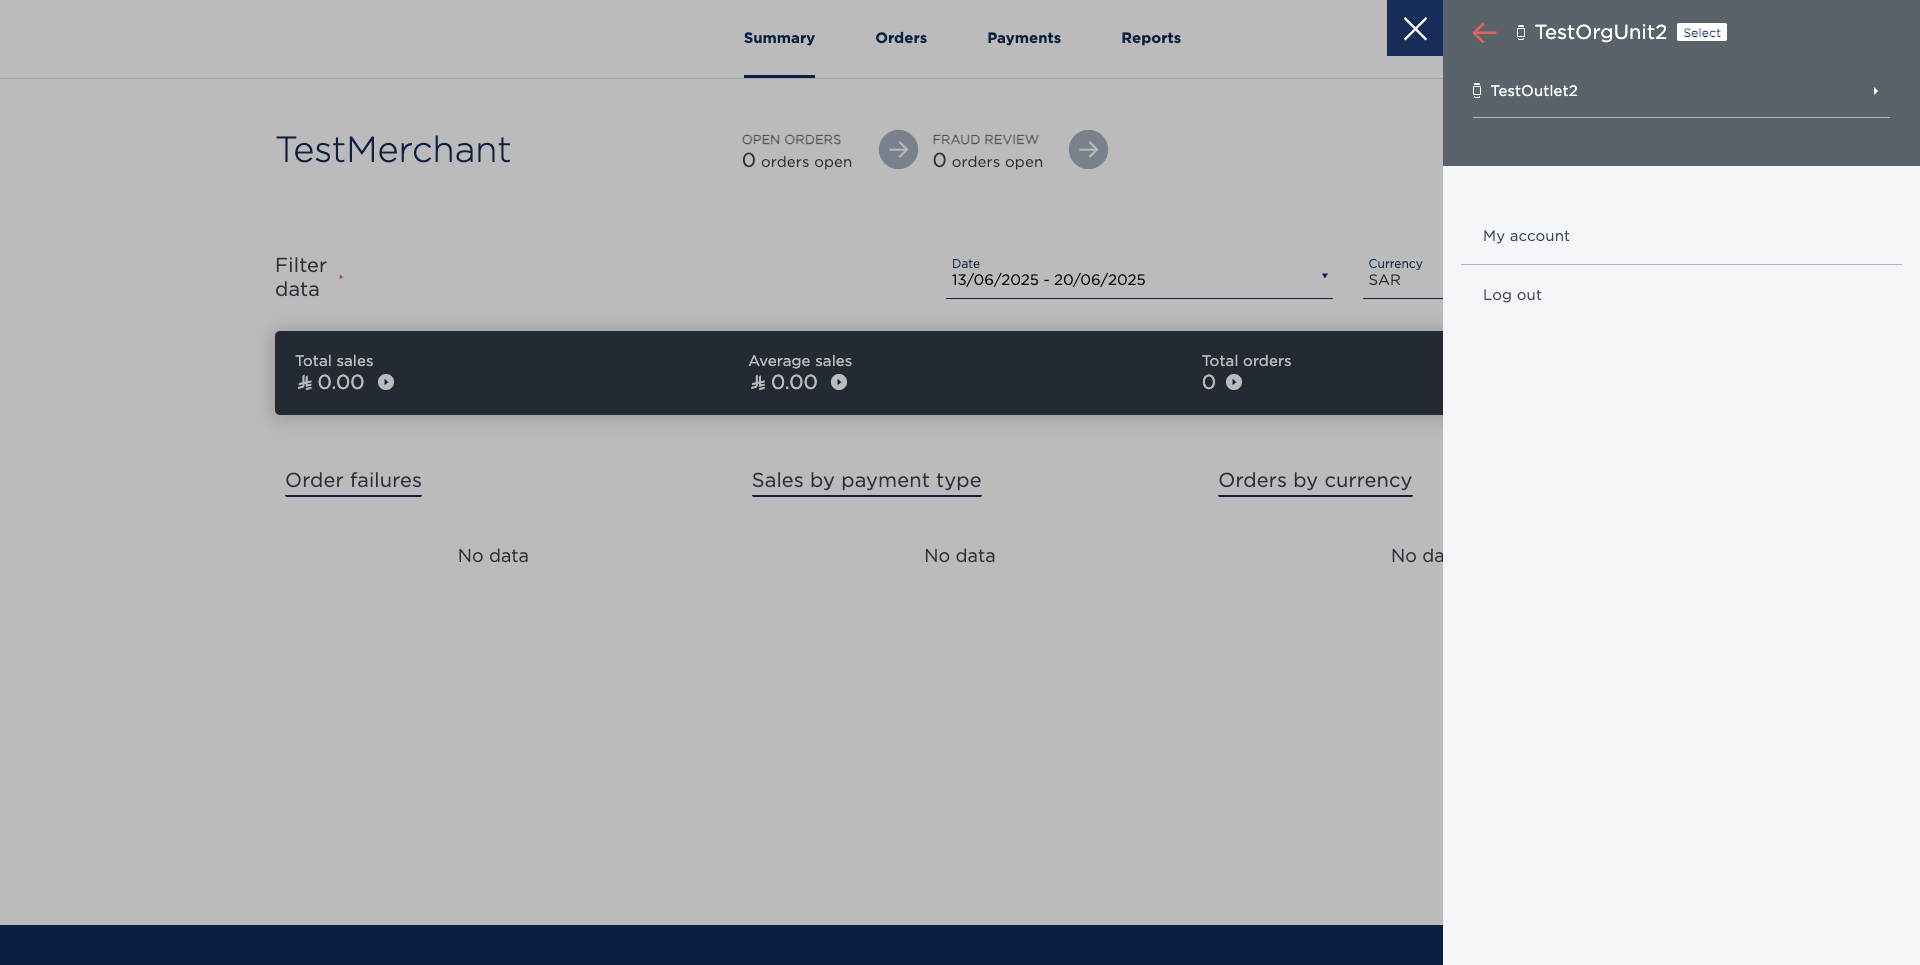
You are able to then add users and email notifications, view transactions and perform any settings under this organisational unit as a Merchant Admin.
To go back to the highest level or a different level in the organisational hierarchy, you can go back to the hierarchy overview and click on "TestMerchant" and "Select".
Payment Channels Overview
A Payment Channel is the channel through which a transaction is processed. To be able to trade, at least one Payment Channel is necessary. An organisation can however have multiple Payment Channels, using them for varying purposes, e.g. for each different payment method, purchase category, reporting output, etc.
Payment Channels are added during system set-up, and their details cannot be edited. Please contact the Network International System Administrator if you wish to add a new Payment Channel.

The Payment Channels list uses the following graphics:
 Green Dot - Payment Channel is active
 Red Dot - Payment Channel is disabled and cannot be used
Add Organisational Unit Or Outlet
New Outlets can be added to the organisation by Merchant Admin Users. These can branch directly from the Merchant Organisation node, or from other Organisation Units. Outlets cannot have children nodes.
Organisational units needs to be set up by Network International System Administrator. Merchants can reach out to their Network International System Administrator and set up any new organisational units
If a node in the navigation box has children nodes (i.e. Organisational Units and/or Outlets beneath it), a white ![]() Next arrow link displays beside their name.
Next arrow link displays beside their name.
- Select the Settings option from the top Main menu bar. The Settings menu bar displays, with the Users page open by default.
- Click on the Organisational Hierarchy option. The Organisational Hierarchy screen displays.
- Do you want to add an Outlet to the top level Merchant Organisation node?
If yes, go to step 4.
If no, navigate to the Organisational Unit node you want by clicking on the names and Next arrow links in the Organisation Hierarchy navigation box on the left of the screen, until you have selected the node you want. Go to step 4.
 - Click the Add organisation unit or outlet link in the details box. An Add Organisational Unit or Outlet slide-out box displays.
- Click on the Open icon in the Type field.
A dropdown list opens, displaying Organisational Unit and Outlet options. - Select the option you want. The selection displays in the Type field.
- Type the name for the Unit/Outlet in the Name field.
- Click the Add button. The Add Organisational Unit or Outlet box retracts.
The Outlet is added to the organisation.
The Organisation Hierarchy screen for the Merchant Organisation node displays. - Repeat Steps 3 to 11 until finished.
Deactivate/Activate Organisational Unit or Outlet
Organisational Unit and Outlets can be deactivated and reactivated by the Merchant Admin User, if they have permission.
If an Organisational Unit/Outlet has been deactivated or locked at a higher permission level, it cannot be enabled from a lower level, i.e. if an Admin User with higher permission than you disables an Outlet, you won’t be allowed to enable it.
When an Organisational Unit/Outlet has been disabled, the transactions it already has assigned to it are unaffected and can still be actioned, e.g. refunded, voided, etc. The data for a disabled Unit/Outlet will also still display as part of the Summary screen.
Note: To deactivate an Organisational Unit node, all children nodes (Organisational Units and Outlets) under it must be deactivated first. If they are not, you will not be able to deactivate the selected Organisational Unit node.
To reactivate an Organisational Unit or Outlet node, all parent nodes (Organisational Units) above it must be reactivated first.

Example hierarchy graph
ExampleUsing the hierarchy graph above as an example; If you want to deactivate the “ACME Switzerland” Organisational Unit, its children nodes (the “ACME Bern” Organisational Unit, and the “Bern shop”, “Zurich shop” and “acme.ch” Outlets) must all be deactivated first.
If you then want to reactivate the “Bern shop” Outlet, the parent nodes (“ACME Bern” and “ACME Switzerland” Organisational Units) must first be reactivated.
- Navigate to the Organisational Unit or Outlet that you want on the Organisational Hierarchy screen.
- Click the
 Edit link beside the Status field. An Edit status slide-out box displays.
 - In the Status section, click on the Activate/Deactivate slide button to move it to the option you want.
Tip: A dark slide button is Active. An empty slide button is
  Deactivated
 - Click on the Update button. The Edit status box retracts and the updated status displays in the details section.
A "The Name has been deactivated/activated" confirmation message displays under the Settings menu bar. - Repeat Steps 1 to 4 until you have finished.
- To return to the Organisational hierarchy screen, click the
 Organisational hierarchy link at the top left of the page.
Email Notifications
The reservation unit of Hotel 1 should be setup as an org unit so that they will receive their own email notifications only relevant to them. Hotel 1 can setup multiple org units under their org unit.
For example the Restaurant Manager at Hotel 2 is able to setup his/her staff email IDs under his/her or department so they are able to receive payment notifications relevant to their department only. The Manager (Merchant Admin) at Hotel 2 is able to view both departments transactions and receive payment notifications for both if he wishes. To setup email notifications go to https://docs.ksa.ngenius-payments.com/docs/email-notifications
Updated 5 months ago